The Ultimate End of Lease & Move Out Cleaning Guide: Secure Your Full Deposit
Moving out of a rental property is an exciting milestone, but the logistics of packing and relocating can be incredibly stressful. Amidst the chaos, one critical task looms large. Having a reliable end of lease cleaning checklist is essential to ensure you leave the property in immaculate condition. Whether you are a tenant aiming to secure your full security deposit or a landlord preparing a property for the next occupant, leaving the home spotless is non-negotiable.
Step 1: Strategic Move Out Cleaning Preparation
A haphazard approach to cleaning will inevitably lead to missed spots and potential bond deductions. Before you dive into scrubbing, strategic preparation is key.
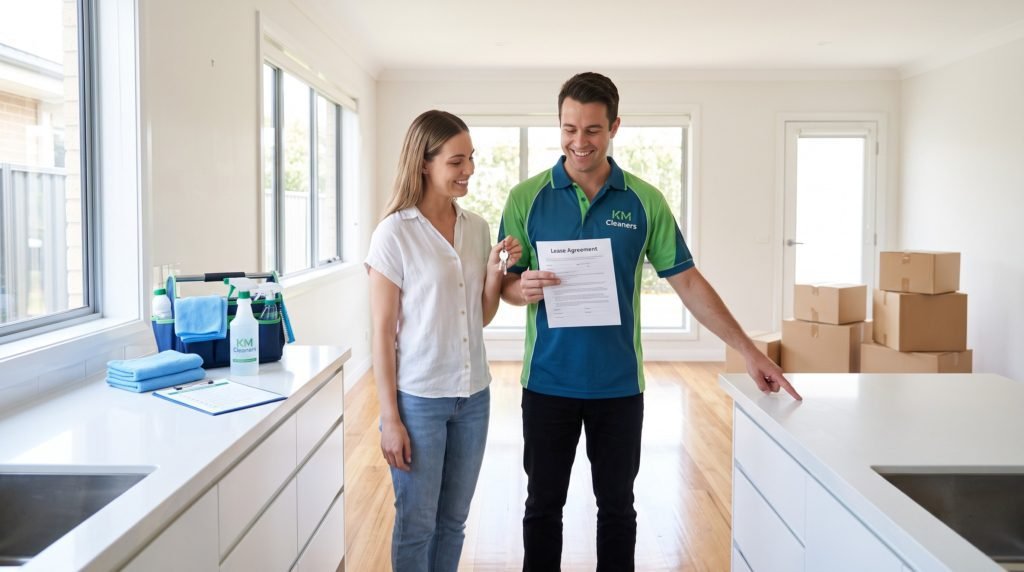
- Review Your Lease Agreement: This is your most important document. It often contains specific clauses detailing cleaning standards. Check if your lease mandates professional services for specific tasks like carpet steam cleaning, pest control, or exterior window washing.
- Declutter and Dispose: Do not try to deep clean around moving boxes. Wait until the majority of your belongings are packed and removed. Donate usable goods, responsibly dispose of trash, and give yourself a clean slate to work with.
- Gather Your Supplies: Ensure you have adequate lighting, ventilation, and a full arsenal of supplies—including disinfectants, heavy-duty degreasers, microfiber cloths, scrub brushes, and a high-powered vacuum.
Step 2: Your Room-by-Room End of Lease Cleaning Checklist
By breaking your cleaning down room by room, you guarantee that no corner is overlooked.
1. Kitchen Deep Clean: The Heart of the Home
The kitchen is arguably the most scrutinized area during a final property inspection. A quick wipe-down will not suffice; it requires absolute attention to detail.
- Oven and Cooktop: Use a specialized oven cleaner to tackle baked-on grease. Degrease the cooktop thoroughly, ensuring all burners, control knobs, and range hood filters are spotless.
- Refrigerator and Microwave: Empty and defrost the fridge and freezer. Clean the interior shelves, drawers, and door seals with a mild detergent. Wipe down the microwave inside and out, paying attention to the turntable.
- Cabinetry and Drawers: Empty all cabinets. Wipe down the interiors and undersides of shelves to remove crumbs and sticky residue.
- Sink and Countertops: Scrub the sink to remove hard water deposits, polish the taps, and wipe down all benchtops until they gleam.
2. Bathroom Sparkle: Restoring Hygiene
Bathrooms are highly susceptible to mold, mildew, and water stains. Rigorous sanitization here is essential for a successful bond return.
- Showers and Bathtubs: Scrub grout lines with a strong cleaner to eliminate mildew. Clean the shower screen to remove all soap scum and polish the fixtures to a mirror shine.
- Toilets and Vanities: Disinfect the toilet bowl, seat, and base thoroughly. Clean the sink basin, taps, and vanity surfaces to remove toothpaste and water spots.
- Mirrors and Floors: Clean mirrors to a streak-free finish and mop the floors, paying special attention to corners and edges.
3. Living Areas and Bedrooms: A Pristine Finish
These high-traffic areas require a comprehensive approach to remove accumulated dust, dirt, and allergens.
- Walls and Skirting Boards: Wipe down walls to remove scuff marks and smudges. Clean skirting boards, door frames, and window sills, which frequently accumulate hidden dust.
- Windows and Blinds: Clean interior window glass for a streak-free finish. Dust or wipe down all blinds and curtains. (Check your lease to see if exterior windows are your responsibility).
- Floors: Vacuum all carpets meticulously, especially in high-traffic zones. For hard floors, sweep first, then mop with an appropriate cleaner to ensure no sticky residue remains.
4. Final Touches and Exterior Areas
These often-overlooked details can make a massive difference in your property manager’s final impression.
- Fixtures and Fittings: Dust ceiling fans, air vents, and light fixtures. Wipe down all light switches and door handles.
- Cobweb Removal: Scan the ceilings and corners of every room and remove any cobwebs.
- Safety Checks: Ensure smoke detectors have fresh batteries and wipe them clean. Replace any burnt-out light bulbs.
- Exterior Maintenance: Sweep patios, porches, and balconies. If your lease requires it, mow the lawn, pull weeds, and ensure the front entryway is welcoming and tidy.
Step 3: Applying “Hospitality Standards” to Your Home
Why aim for a basic clean when you can aim for a five-star standard? In the hospitality industry, impeccable cleanliness directly impacts guest satisfaction and brand reputation. You can apply these same rigorous protocols to your move-out clean:
- The “First Impression” Rule: Just like a hotel lobby, your home’s entryway sets the tone. Ensure the front door, handle, and immediate flooring are immaculate.
- Cross-Contamination Prevention: Use different colored cloths for bathrooms, kitchens, and living spaces to prevent spreading bacteria—a standard practice in premium hospitality cleaning.
- Back-of-House Diligence: Treat your hidden storage spaces (closets, pantries, and laundry rooms) with the same respect as your main living areas.
DIY Move Out Cleaning Checklist vs. Professional Services
While a DIY approach is entirely possible with the right checklist, there are distinct advantages to hiring professionals. If you are short on time, overwhelmed by the physical labor, or required by your lease to provide a professional receipt, hiring experts is a wise investment. Professional cleaners possess the industrial-grade equipment, specialized chemicals, and trained expertise required to achieve a flawless finish—ultimately guaranteeing the safe return of your bond.
Frequently Asked Questions (FAQs)
What is the most important part of an end of lease cleaning checklist? The kitchen and bathrooms are the most crucial areas. Because they are highly prone to grease, grime, and water build-up, they are the first places landlords inspect.
What is the difference between “fair wear and tear” and damage? Fair wear and tear refers to natural deterioration over time, such as slightly faded paint or gently worn carpet in walkways. Damage is caused by negligence or accidents (e.g., large carpet stains, broken tiles, or deep scratches on floors) and may incur costs beyond standard cleaning.
Do I need to clean the inside of cabinets and appliances? Absolutely. Cleaning the inside of cabinets, drawers, ovens, and refrigerators is a mandatory requirement on almost all property management move-out checklists.
Should I take photos after my end of lease clean? Yes. Having professional-quality photos or a video walkthrough after your deep clean serves as excellent documentation of the property’s condition, offering you protection during the final inspection.
Secure Your Bond with KM Mittal Cleaning Services
Executing a thorough clean using a structured end of lease cleaning checklist is a strategic investment in securing your deposit. By understanding your obligations, systematically tackling every room, and applying high-level hygiene standards, you ensure a stress-free property handover.
Ready to ensure a spotless departure?
Contact Us: https://kmcleaners.com.au/contact
Location: Pimpama, QLD 4209
Phone: 0402 622 210
Email: info@kmcleaners.com.au